Friday, October 25, 2013

H&M Purchases

A while ago, I decided I needed to start dressing better.  Being dressed cute always makes you feel better.  I often can be found in yoga pants and a crappy shlubby t-shirt with paint all over it.  Most days I wasn't doing my hair or putting on make-up.  I use to get ready and look cute for work, but when I had Audrey I stayed home, then Oliver came and it was even harder to get ready.  Now, I take care of 2 other kids to help with money.  This makes 4 kids under 4. ALL DAY.  I was getting lucky to even get in a shower.  Gross, I know.  Or you are going, oh my God me too.  Either way I was getting sick of it.  I have a fat butt and not so big boobies.  Both of which I am fine with.

Yes, some weight loss would be nice, but I found myself saying "I'll buy new clothes when I lose x amount of pounds....  I don't want to waste money buying cute jeans at this size, I'll just wear the crappy one's I have.....and so on."  Well, eventually I hope to be a healthier weight I still need to feel fabulous now.

I was on a mission to get some pieces of clothing to make up some cute outfits for fall/winter that I would look cute, feel comfortable in, and not constantly be adjusting/tugging at my clothes.

A few outfits I wanted to piece together:


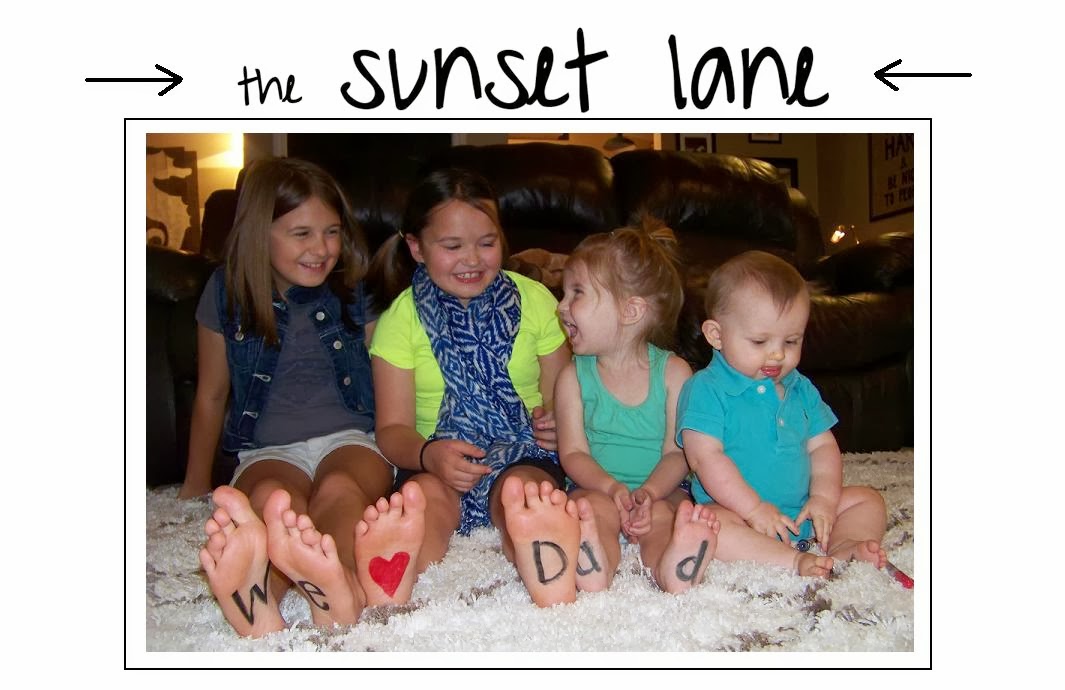
Also, I decided after staring at this pic forever that I most certainly needed to cut my hair.  It was looking ratty and blah.  My hair is very fine and looks stringy when it's grown out.  It was also almost always in a weird wad of a bun on my head.  Not a cute bun, but more like just out of my face bun. Shlubby again.  So, I had my friend Tammy cut my hair.  I love it.  Like super love it.  


Back to the clothes and the H&M Purchases.  I was looking for some sweater/tunic shirts to wear with skinnies/leggings.  I found some, they were like $50 each.  Yikes.  Then I was searching H&M's home stuff again. {I would rather buy stuff for my house over clothes always} I found some of their new fabulous pillows that totally tie my bedroom together, more on that another day.  So, I decided to peruse the clothes.  Fabulous and affordable.  
Then I found this tunic sweatshirt.  I order all three colors. These were $18 each.

And this sweater.  I ordered, black, white and stripes.  These were buy 2 get 1 free.  Which made them $13.30 each.
This sweater will need a tank underneath, but I can totally make a few of the super cute outfits from Pinterest with these!  

I cannot even explain to you how much I hate trying on clothes.  Mostly because I usually look like crap when shopping and that just makes it worse.  Plus, it's a pain in the ass trying to pull your 3 year old back into your dressing room while you baby screams in the cart you pushed into the too small dressing room and your older kids sit outside the dressing room and say "are you done yet?"  Mr. TSL tries to help by taking them, but usually by the time he does that I am done. Like super done.  Like "I don't care if I ever go out of our house I don't want to stare at my muffin top want to crawl into a hole" done.
I should get all dolled up, then try on clothes after I have had a few margaritas.  

I buy clothes online a lot, because nothing is more stressful than trying to find cute clothes that fit your big butt, but aren't too big for your smaller waist and bust.  These are the problems that plague me.  Anywho, I freaking love all of these tops and the purse I ordered (first new purse in forever-usually it's goodwill stuff that's okay) and the pillows for my bed.  I have never been 100% satisfied with an online purchase.  There's always tha tinge of "the quality is not what I thought it would be."  Not these I freaking love them and can't wait to get dressed!  Seriously.  That is a huge feat for me.  I can see all kinds of kitchy house crap or furniture and see it's potential and can make it look amazing. Getting dressed has always been a chore, but I am actually excited to wear these.  
xoxo


follow me on PINTEREST

Wednesday, October 23, 2013

Diagonal Wood Flooring

My flooring is in, so I am super pumped!  I will hopefully have it done in the next week or two!

More pattern options, laying it on the diagonal.


I think laying it like this will be significantly easier.  I can't wait to start, but alas, I have to prep the floor and such.


xoxo


follow me on Pinterest

Friday, October 11, 2013

deciding on a herringbone floor pattern

After our foundation cracked last summer from 2 summers of extreme drought, putting matching hardwood floors in the living room and dining room wasn't an option anymore.  We decided to lay new carpet in the living room and it's great.  We still wanted something else by the door so the carpet wasn't eternally disgusting.  So I chose peel and stick wood flooring.


While I have changed the entry, once again,  I still love this flooring.  It doesn't warp if it gets wet, it is super easy to clean and it's extremely affordable!

I also put it in our front closet and in the Laundry Room Makeover.
please note, I hadn't put the trim back on or touched up the black paint, yes my laundry room/pantry is black.
After living with it for a while, I have decided this is the flooring for the dining room and kitchen.  With 4 kids, I don't always catch spills and I don't want to ruin a $2000 floor because someone's sippy cup leaked for too long.  Plus, our painted floor {while this looked good for a while} is looking really shabby.  
The total cost is going to run us about $300 in flooring and I am guessing another $100 in extra glue and floor primer.  Significantly less than hardwood.  

On to the pattern for the floor, I laid the entry, closet and laundry room normally.  They were small spaces and a larger design would have been wasted.  The dining room and kitchen however are a much larger space and I am trying to decide how I want to run the herringbone pattern.

These are my inspiration pics:
so lovely

I really like this one, it's less traditional and visually doesn't catch my eye as herringbone

the pic on the left the herringbone runs the opposite of the first pic I showed you

Thoughts?


via

Thursday, October 10, 2013

Barn Loot: Ugly Tin Makeover

I went to a barn sale months back and got a bunch of goodies.  One of which was this ugly ass tin box that had a flower on it.  The other was a fabulous coffee tin.


I spray painted the flower area with white,  taped it off when it dried completely and painted it red!

 Now they both hang out on my freshly painted kitchen shelves!


xoxo

Wednesday, October 9, 2013

White Top Cabinets and Color Choice for our bar stools

I finished painting the top cabinets and shelves!  It looks amazing and was a total bitch to do because of the paint I chose.  We'll get to that, but let's see some pics.


This is a much better pic of how fabulous the sharpie marker subway tile turned out! :)


not sure why the doors look different in this one other than I suck at photography, they match in real life.

Now, my paint choice.  I primed with BIN Zinzer Primer...it's the shit.  Then I decided to roll the cabinet tops with Krylon roll on paint.   This wasn't a giant mistake, like I have to redo them, but a giant time suck and pain in the ass.  It drips, bad.  Luckily I caught most of the drips, but it took 6 thin coats of paint.  The paint itself is very thin and in using it you have to use tons of coats to reach your desired results.  It leaves marks when you roll it then look a little texture-y to me.  Don't worry it self levels and these don't stay.  

The reason I picked this paint was so I could spray paint the doors and they would have the same finish and color.  I should have just brushed the doors and rolled them, but hindsight is 20/20.

The doors painted super fast though.  It took me about a half hour total after the primer dried to spray the doors to completely cover them.  However it took forever to paint the frames, so next time I will be rolling all of it with better paint, much faster.

Now I have 7 of these stools that Mr. TSL brought home and had in the iron trailer (scrap to take to the recycler)  I found one while I was looking for something and he said he had 6 more the school was throwing away.   No freaking way.  I might add the tops were broken and my mr fixed them for me.  

They look like this:


my stools have a dark gray metal frame and need to be painted. These sell for $550 for the pair, so 7 for free is one helluva deal.


I could leave them with the natural finish and they would look similar to this because the island will be black.


These are the choices:


While I love the orange stools, I am thinking yellow or army green would look better with the red lantern over the island.   Which soon will be getting a makeover!  I am thrilled to start the kitchen and can't wait to finish it!

So what are you thoughts on the stools?

images via


xoxo

Friday, October 4, 2013

kitchen cabinets: one coat of primer!

I painted one coat of primer on the cabinets! :)


before with 80's cabinets


It's all a huge freaking mess.  But, progress none the less.  It is so much brighter!  I can't believe it took me 3 years to get to this!  I love it :)  I plan to put on the first coat of paint in a minute and the second coat in the morning.  The paint I am using says second coat after 6 hours, but before 24.  Here's to hoping 2 coats get it done!

xoxo

Large Red Lantern for $15

Remember when I scored this lantern from a thrift store for $10.  It started out freaking fugly, but it had potential.  It was so damn heavy and I immediately got to work on it.  Yes, I had other crap going on, but come on.  

All the glass was in great shape and was beveled.  It was going to be a total bitch to tape it all off and try to get the spray paint in all the nooks and crannies.  So, with my super arm strength I held it above our dumpster and took a hammer to the glass.  I bet my neighbors think I'm nuts.  I was doing it and my mr. came running out of his garage to see what was wrong.  Nothing just breaking some glass.  He didn't even flinch, just nodded and went back to working.  It's not uncommon for me to do something crazy.

I haven't decided if I love it red or if it will eventually be black, but here she is:


Remember the before:

One more after for you from the other direction:


Yesterday I scrubbed the top cabinets, took the doors off, and taped the cabinets in preparation to paint the top cabinets white!  I also sprayed the hinges white.  Can't wait to show you pictures soon!

So, what do you think black or red lantern.  If I leave the lantern red, do I repaint the back door black?  I am currently painting all the doors black room by room, so it would make sense.  

xoxo


Tuesday, October 1, 2013

old light made new with a neon pink duct tape & gold ceiling dots

My hilarious friend Jess moved in to a new apartment a while ago and she has been slowly been making it hers.  It's super cute guys.  Seriously.  So cute!

Anywho, she recruited me for my super good looks and mad skills....kidding I do have mad skills in making cool stuff for cheap!  So, we have been working on some stuff.

Scored this light from craigslist, it's brass and old and awesome.


I cleaned it up and it was lovely.  But, it needed to be a plug in light and the light bases were falling apart.  In steps some glorious neon pink duct tape.


Now, I am going to teach you how to rewire a chandelier to make it plug in.
It's super easy...I may be plotting to do this to a few lights. Don't judge.

DISCLAIMER: I am not an electrician. I did this myself.  I am telling you how I did it.  I am in no way responsible if you fuck yours up and burn down your house.  

REWIRING A CHANDELIER

1.  Collect your supplies: chandelier, wire strippers, needle nose pliers, a lamp kit from Lowe's (for the switch), electrical cord for your needed length, duct tape to cover the cord when finished, and electrical tape (it's must be electrical tape, no duct tape won't work for that part)


2. Cover the light bases with duct tape. 


3. Cut cord to decide where you need the switch.  You may skip this part if you don't need a switch.  Her plug was behind a bookcase and we needed it to be able to be turned on without having to plug it in every time.  Pull apart the wires with some pliers and wire strip the ends.


  4.  Join the ends together by twisting them like so, it doesn't matter which side you connect it to, just keep each side of the cord separate.


5.  Now tape each exposed wire with electrical tape.  You are going to be super excited at this point.  After each connection has been made, (I had to do it in 4 spots) and all the electrical tape is on PLUG IN THE LIGHT!!!  Do not wrap in duct tape until you have plugged it in.  If it doesn't work you are not going to want to undo all the duct tape.  I luckily thought of this ahead of time.  


6.  Sit back and realize how cool you are, text your friend pictures of her light.  Seriously. Awesome. 
Now recruit someone to assist you (I made Morgan and Hayley help hold it, child labor is free, woot woot!)
and cover the cord in duct tape.  I didn't get a pic of this step because all the hands were holding the cord so the tape didn't get covered in Harley's dog hair!

Before I show you the finished product, I have to show you one more addition to this light for her dining room.  My mom bought 2 packs of these dots at a garage sale, each pack had 4 sheets of dots.

I spray painted the dots gold and..............drum roll..................


It turned out so amazing!!  

Plus the Brass Folding Ghost Chairs I found on Craigslist found a home at her place.  They are perfect for her house!


We are also working on her bar cart and this gallery wall, she has to finish up her TV stand to make sure it doesn't conflict with the height of the art. :)
henry the pug wants you to know only you can prevent forest fires and he'll eat the rest of that if you are done with it.


xoxo