Wednesday, September 21, 2011

I made it on to crafting with the stars!!!

This morning I get up and check my email.....and guess what?!?!  I made it on to crafting with the stars @ Sew Dang Cute!!!!
Holy freakin' crap Batman!!


This is where it gets a little embarrassing....  I was so excited I jumped up in the air like a Toyota commercial and broke the boob light cover on our wicked cool fan. Damn.  It hurt my hand.  Now, I am off to Lowe's to get a new boob cover...unless I can think of a DIY before then :)


Then, I was like I totally should have high-fived someone, but Audrey was sleeping still and everyone else was gone!!!!


Am I excited?  Jyes!!

Broken light:


Make your life beautiful!!!

Monday, September 19, 2011

Meal Making Monday Lasagna Recipe


First, this post was inspired by my super awesome (and totally amazingly dressed) friend Lindsey over @ Mama, Love + Style.  She does a "What I wore Wednesday" and has superb taste.  You know the crap you pin on Pinterest to eventually wear, but probably never will....she actually dresses that way and has since we were in high school.  Super cute!

Anyhow, I can't dress that cute...working on it.  But, I can cook like nobody's business!
I don't use any packet spices, nor do I measure unless I'm baking.  Sometimes I put in stuff I didn't put in last time and sometimes I don't.  Most of the time, it's quite delicious...on a rare occasion I have been known to allow the kids to eat cereal because it didn't work :)

Usually when I ask Mr. TSL what he wants for dinner, I get the response, "Something dead with cheese on it."  Or, "I don't care, I am so hungry I could eat the south end of a north bound cow."  I know, he's extremely charming and he's mine all mine ;)  He's the peanut butter to my jelly!

Lasagna 
You will need:
1 lb ground beef
1 lb italian sausage
16 oz shredded mozzarella
1 large container of cottage cheese
1 29oz can of tomato sauce
onion powder
garlic powder
oregano
parsley flakes
salt
pepper
brown sugar

1. Boil the noodles with the directions on the box....or just get the oven ready one's they are sooooo much easier!! (**you must dry the noodles with a paper towel before you put them in the lasagna or it will be all runny.)

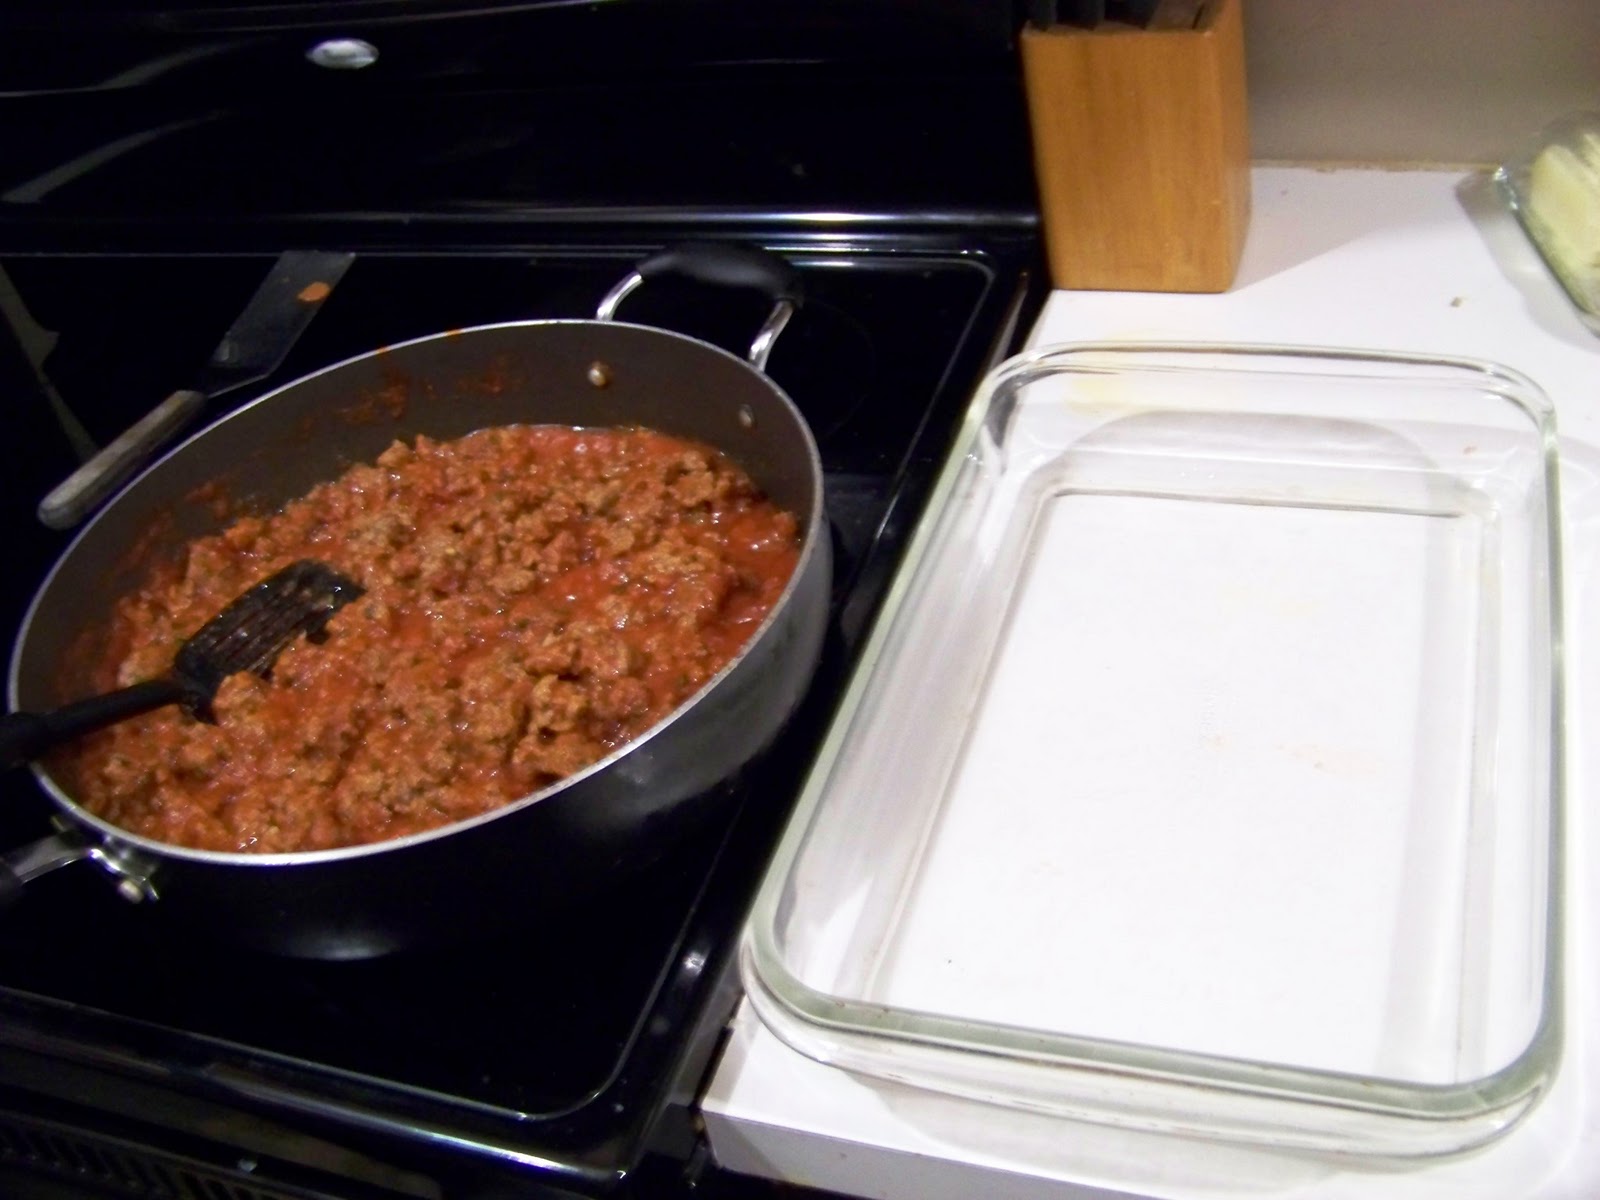
2.  Brown the ground beef and the italian sausage in a large skillet. drain the grease.  (**you can use all sausage or all ground beef, it doesn't matter..or chicken if your heart desires :)

3. add the tomato sauce.  

4.  Here's where I may lose you.... 
sprinkle generously across the top the: onion powder, garlic powder, oregano, parsley flakes, salt and pepper.
then add about 2 tablespoons on brown sugar....trust me it takes the acidity of the tomato sauce way down.

5.  let the sauce cook for a little while. just to mix the flavors

6.  take the entire container of cottage cheese and dump it in your strainer.  let the milky stuff drain out...it will make the lasagna all soupy too if you don't.  You can always use ricotta, but cottage cheese is cheaper and just as delicious!

7. Layer that baby....
I always start with meat sauce on the bottom because then nothing will stick to the bottom of the pan.  

In a cake pan I start layering it.  It doesn't have to be exact, just put all the stuff in each section.


Bake @ 350 degrees for 40 min
her eyebrows even like it!

silly goose :)


yep, she feeds herself now.  big girl :)

hayley actually hates the sausage in it and picked it all out!

Make your life beautiful!!

Saturday, September 17, 2011

Candy Corn Toes and Pumpkin Cupcakes

I saw these on Pinterest and had to try them!


I did my toes though :)  I can't seem to like painting my fingernails.  They just chip and piss me off.  I do ALWAYS have my toes painted though!


Plus, today I made pumpkin cupcakes with maple cream frosting.....to die for delicious!!


Pumpkin Cupcakes with Maple Cream Frosting
2 c flour
2 tsp baking powder
1 tsp baking soda
1 tsp salt
2 tsp cinnamon
1 tsp ginger
1 tsp nutmeg

mix all dry ingredients in a separate bowl

4 eggs (at room temperature)
1 can pumpkin (15 oz)
1 c sugar
1 c brown sugar
1 c oil

mix all above ingredients and fold in dry ingredients

pour into muffin tins (I use muffin cups too.)  fill 2/3 full.
bake at 350 degrees for 20-25 minutes (I do 25 minutes)

Maple Cream Frosting
8 oz cream cheese (at room temperature)
3 tbsp butter (at room temperature)
1/4 tsp maple extract (it's like vanilla and located near it at the store)
1/2 tsp vanilla extract
2 c powdered sugar

mix all ingredients except powdered sugar, fold in powdered sugar 

allow cupcakes to cool before frosting....unless you're like me then wait until they are warm and not hot :)  

These are so good you will thank me for introducing them to you or curses me for doing so....yum!

  
I think I originally got the recipe from House Beautiful! :)

-Make your life beautiful!

Friday, September 16, 2011

Crap

Sometimes my ideas are freaking brilliant and some fall off onto my daughter's head when she's sleeping.
A while back, Morgan and Hayley moved into the same room so Audrey could move out of our room.
This was a good idea all around.  Audrey is sleeping better, mommy is sleeping better, and Morgan and Hayley (who still fight as much) can no longer say, "fine get out of my room!" to one another.

I have a ton of decorating ideas for their room.  One of which was a headboard like this:

via House Tweaking

I had some pallet wood laying around and I had already made the seahorse art for the bathroom. Which totally stayed on the wall...btw.

So, Morgan, Hayley and I made their headboards. So stinkin' cute.  Didn't get an pics before one night I hear a loud crash and Morgan whimper.  I ran up stairs and her headboard had fallen on her.  So not only am I feeling TERRIBLE, Mr. TSL is razzing me for it.  Good job mom.  you know you have to attach them to a stud. etc. etc. etc.  Needless to say they are without headboards again.

Also another fail:
When I made the purple hallway chandelier, I also painted all the mirrors at the top of the stairs purple.

 The bottom one is pretty heavy and was crooked...I fixed it. it fell.  hard.  It didn't break, but most of the shells fell off and it broke the trim below it because it's fat mirror butt fell on it.  I was mad.  So, I painted a different mirror and hung it up.


Although, I hate to admit it.  I didn't particularly care for that mirror, but I already had.  Use what you've got right?  I have other plans for it now.

-Make your life beautiful!

Thursday, September 15, 2011

Goodwill Hunting

Well, technically it was the DAV and some other thrift stores. But, whatevskees.  I went shopping with my mom on Labor Day because she didn't have to work and we wanted to go play...apparently everything is closed on Labor Day..duh.  We did find a cute little store (that I will soon return too, without my children and a time constraint, to dig through their stuff some more!).  I was walking up and saw the 15% off chairs sign and was like chicka what?!?   I love chairs...apparently I may be hoarding them.  I have 14 in my garage. No lie.

Back to the store, I walked up and saw these beauties:


Yes, I bought them.  This pick is from my living room. :)  Ugh I hate the carpet...back to the chairs.
I recently read this post over at Vintage Revivals.  The amazing and talented Mandi (owner of VR) took this fugly chair:


 and turned it into this:

Guess who has two thumbs and a similar chair?  This girl!  Remember above..I showed you my chair? :)

The other chair on the left in the pic was  $12.97 plus it was 15% off.....total: $11.02!  And it's in perfect condition.  It has gone to live in the master bedroom.  Pics later.


The VR copycat chair, er, I mean broken cane chair... $2.97 plus 15% discount= $2.52 woot woot!!

Also scored a super cute tan and brown hounds tooth purse for $6! Love it!

-Make your life beautiful!!

Wednesday, September 14, 2011

Kitchen Remodel part 1 of 537

Okay, 537 might be exaggerating.  But, I'm not trying to rush it.  Maybe a little.
Our kitchen looked like this when we moved in:

Please note none of these decorations belong to me, this is before we moved in.

So far, I have painted (twice because I didn't like the green color I chose.)  I replaced the tacky lights with Mason Jar pendant lights I DIY'd. I painted the doors to the laundry closet/pantry with chalkboard paint.  We bought a new stove and I tore up the crapet (I know I typed crapet and not carpet...it was that tile-looking carpet that was dis-gust-ing. Nasty. Icky. I digress, I guess we are on part 6, whatevskees.

This weekend I talked Mr. TSL and my dad into taking down the cabinets over the island to open it up.  It totally did!


Mr. TSL wants to leave the beams...I am not totally sold.  They are kind of Asian looking, like a pagoda and that's not what I'm going for.

I plan on painting all the cabinets black and rearranging the cabinets on the far wall.  I played around in paint and came up with this:

It won't cost us too much, just for the shelves.  The rest of the cabinets are being rearranged and we already have them so no mucho denero needed there!  I am thinking of putting a window above the sink too.  We'll see.  That north side of our house only has one window. I know, weird right?

I scored some granite tile for the counter and some marble tile for the island a while back for $1 per tile on craigslist.  I love Craig and his list.

Here are some pics of inspiration for my madness:

I love this and I really really really love the ceiling!!!

this is the granite for the counters

and this is the marble for the island


All images via Pinterest
-Make your life beautiful!