Showing posts with label art. Show all posts

Wednesday, June 20, 2012

Updated Children's Art Gallery

I rearranged some of the girls art and added some from this school year.  I rehung it at the top of the stairs and up the wall in the stairwell.   I actually had most of the wall done like a week ago, but some of the thrift store frames still had price tags on them and had to be painted black.

Hey, I've been distracted with the bathroom.  :)


Meanwhile in the bathroom:  the floor is being prepped for slate tile!

and my dining room looks like this...........seriously.

well the sink and top are gone now, but I have to refinish the vanity....
maybe I'll start that tonight!  maybe.


-Make your life beautiful!


SUNDAY:
 MONDAY:
TUESDAY:
WEDNESDAY:
Blue Cricket DesignNot Just A HousewifeSomeday CraftsHandy Man, Crafty WomanSew Much AdoOrganize Your Stuff NowSeven Thirty Three,
Sugar and Dots, The Mommy Club  

THURSDAY:
My Repurposed LifePaisley PassionsHouse of HepworthsBeyond The Picket FenceInspired by CharmThe Shabby Chic Cottage,  Somewhat Simple 
FRIDAY:
SATURDAY:
Funky Junk InteriorsBe Different Act Normal,  Tatertots and Jello, Young and Crafty 

Tuesday, September 13, 2011

Stenciled Corner

I finished the stencil in the corner a few weeks ago.  I have to start out by saying, I love our house.  It is by far the nicest house Mr. TSL and I have lived in. (We've had our share of crappy apartments with lawn furniture for the living room.  I wouldn't change it for the world!)

Although I love it, it is kind of quirky.  The living room has a few things making it hard to decorate around.  It has a load bearing beam off center and also a weird bump out from the HVAC unit on the front porch.

Here is a crude drawing of what I am talking about, the arrow is the weird corner...and I made the door open the opposite direction.


I have tried my best to decorate around them.  The weird bump out got a little sentimental makeover a while back with the girls' baby pics.  

I decided a few weeks back that the weird space next to it should be a built in bookshelf with a stenciled back.

Before:
I know this is the opposite direction, but these are the pics before we bought it and I don't have a pic of that corner.

weird mark from the camera.  this is where Audrey's toys live when people are over.  they are usually spread all over :)


Inspiration pics:


After:


Still working on the shelves.
That window looks into my garage.  The maps were changed into the frames They are maps from 1964 of the lake that's next to us!!


I had these pics in it before:


-Make your life beautiful!

SUNDAY: 
The Girl Creative ,
The DIY Showoff
 ,
Sisters of the Wild West
 ,
The Tattered Tag
 ,
Flamingo Toes,
 
Under the Table and Dreaming
 ,
I Heart Nap Time
 

 MONDAY:
Skip To My Lou,
Thrifty Decor Chick,
C.R.A.F.T.,
Sew Can Do,
Dittle Dattle,
Between Naps On the Porch 
Homemaker on a Dime
Making the World Cuter

TUESDAY:
Tip Junkie,
Type A
A Bowl Full of Lemons
Today's Creative Blog
Funky Polkadot Giraffe
Strictly Homemade
A Diamond in the Stuff
All Thingz Related
Handmade Tuesday

WEDNESDAY:
Blue Cricket Design
Not Just A Housewife
Someday Crafts 

Handy Man, Crafty Woman
Sew Much Ado
Organize Your Stuff Now
Seven Thirty Three
Sugar and Dots 
The Mommy Club  


THURSDAY:
My Repurposed Life
Paisley Passions
House of Hepworths
Beyond The Picket Fence
The Shabby Chic Cottage
Somewhat Simple 

FRIDAY:
Whipperberry
Fingerprints on the Fridge
Miss Mustard Seed
Remodelaholic 
Chic on a Shoestring
Shabby Nest
Tidy Mom
Little Lucy Lu
My Simple HomeLife

SATURDAY:
Funky Junk Interiors
Be Different Act Normal 
Tatertots and Jello 
Young and Crafty

Monday, May 2, 2011

Twinkle Twinkle little seahorse :)

I made some fabulous art for the bathroom out of pallet pieces!!

First, I butted them up together and glued them with wood glue.  I used boxes of tile as "clamps" and totally forgot to take a pic of this step! 

Then I stained it with some stain I had in the garage:


Remember my inspiration for the front bathroom?  I had this seahorse:


I copied it into the paint program and split it into quadrants to draw it.


Then took some chalk and outlined the seahorse on my pallet wood:
Then filled it in with white paint!
I love my seahorse :)

Plus it's total cost ZERO DOLLARS!!

I am linking to these awesome parties!!  Go check them out :)
Thrifty Decor Chick
Metamorphasis Monday
Made by You Monday
Market yourself Monday
Just something I whipped up
Craft O Maniac Monday
Tip Me Tuesday
Today's Creative Blog
Penny Pinching Party
Make it Yours Day
The Shabby Chic Cottage Transformation Thursday
Strut You Stuff Thursday
Under $100 @ Beyond the Picket Fence
Hookin' up with HOH
Homemaker on a Dime
Creative Juice Thursday
Weekend Wrap up

-Make your life beautiful!

Wednesday, March 30, 2011

Why buy art when you can create it?

I often find myself swooning over all things Pottery Barn.  I know, you are shocked.  I love our their style!  I was perusing through and found this:
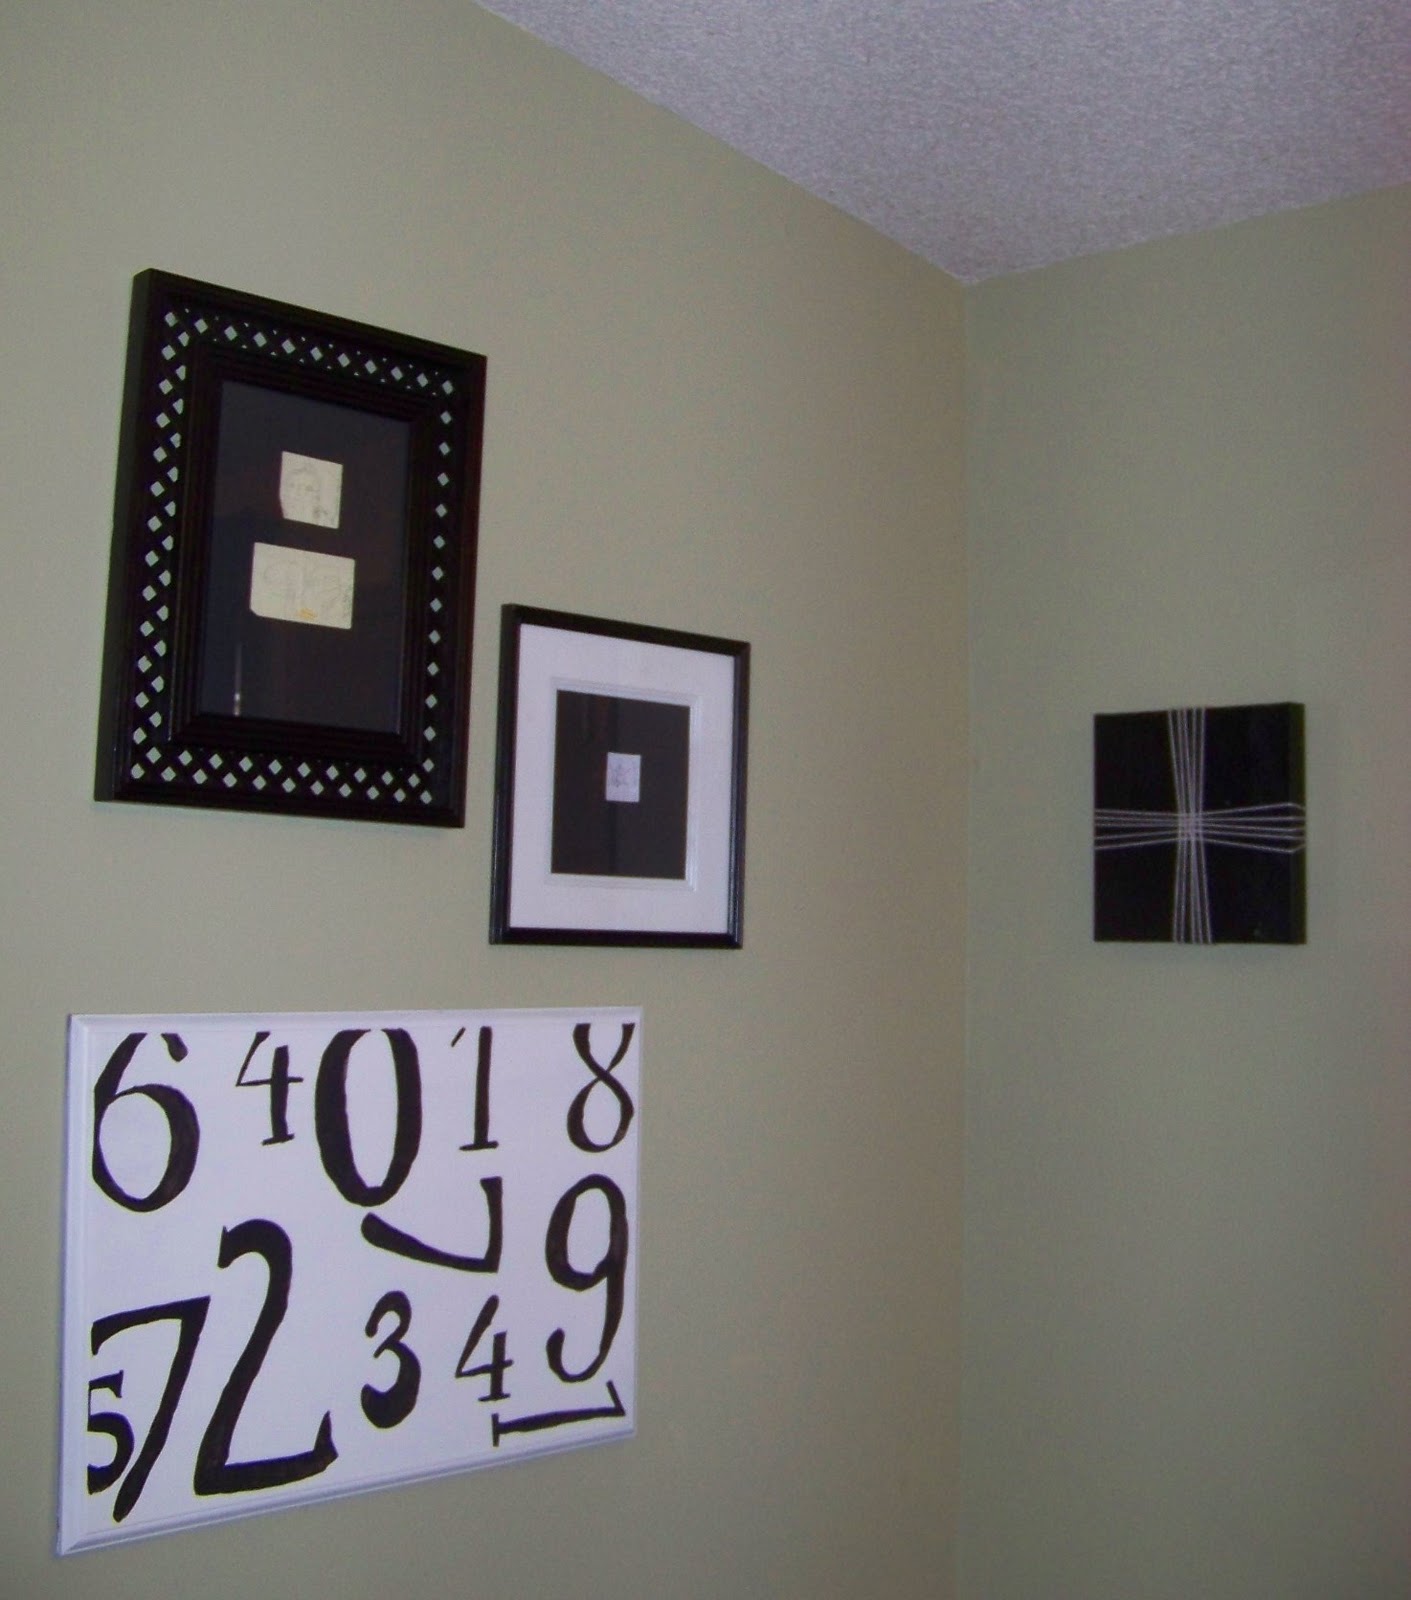
I thought to myself: "Self, you can make that!"  I tweaked it a little, because it's my house and I can :)  I didn't want another mainly black piece of art, so I made mine white with black numbers. 

All of my frames in my house are black (most have been spray painted that way.)  I use to love picture frames when I was a teen and collected quite a few over the years.  However, I felt like they were taking away from the important pictures I had in them, so I unified them in color. Black-it's slimming ;)

I am ALWAYS on the look out for interesting frames and frames with matting. 

Did you know you can paint the matte too?!?  I paint all mine white.  I am also a fan of matting, but it is EX-PEN-SIVE...  So I use poster board instead sometimes (shhhhh, it's a secret.)  I use to use construction paper, but that fades to easily in the sun.

I came across some inexpensive frames for the GW. I scored them for half price (yellow tags were marked down) and also an additional 10% off because I got the GW discount card!

They were $3.99 originally....then $1.99 and then finally, $1.79!  I also got some UGLY pictures for $5 from craigslist.  They were marked $199 on the back...whateva!  I painted over them, the smaller rectangles got a coat of chalkboard paint and are in the girls' rooms and the bigger one is now my PB number artwork!

I also came across a black canvas with some white string I can't seem to find the picture and be able to attach it.  It was in the PB catalog and thought it would be simple to create...it was!!

I started out with this stuff:

Morgan said, oh so nicely, "Mom, I don't think those are very pretty."  I said, "I know and I'm glad you don't have tacky taste!  I am going to paint them."

They turned out like this:


I just popped some cute pics the girls drew when they were little.  They had been in my wallet for years, now everyone can enjoy them!  I also plan on getting some frames for them to have art to change out as they want. 


Here they are on the wall:


-Make your life beautiful!

Kari